
So, you’ve decided to build a shed. You’ve got the plans, you’ve bought the wood, and you’re feeling pretty handy. But then comes the moment of truth: you lift your first wall, stand it up, and go to attach the next one… and it doesn’t fit. The corners are gappy, the tops are wonky, and your nice rectangle looks more like a puzzle box.
If this happens, don’t throw your hammer through the window. You are not alone. This is the most common headache for first-time shed builders. The good news? It’s almost always caused by a few simple mistakes that are easy to avoid once you know what to look for.
Think of building a shed like building with LEGOs. If the base plate (the foundation) is bent, the whole castle is going to be wobbly. If you don’t line the bricks up right, the next layer won’t click in. This guide will walk you through building your shed walls the right way, step-by-step, so everything lines up like it should.

A Beginner’s Guide to Framing It Right the First Time
Quick Navigation Menu
The Golden Rule: It’s All About the Foundation
Building Your Walls: “Lay Out, Don’t Screw Up”
Raising the Walls: The Big Moment
Stop the Wobble: Sheathing and Bracing
Special Situations: Gable Ends and Beyond
Related Reading
I Want a Shed… Now What? How to Start Without Getting Overwhelmed
How Do I Choose the Best Shed Plans? (Paid and Free)
Choosing a Shed Design That Matches Your Skill Level
Planning a Shed Building Timeline That Won’t Break Your Spirit
Choosing the Right Shed Size for Your Yard Size
The Golden Rule: It’s All About the Foundation
Before you even pick up a saw to cut a wall stud, you need to look at the floor. If your shed floor isn’t perfectly flat, level, and square, your walls will never, ever line up. Imagine trying to build a tower of blocks on a trampoline—it doesn’t matter how carefully you stack them, the base keeps moving.
The Mistake: Building a wooden floor frame that is twisted or “out of square” (meaning the corners aren’t 90-degree angles).
The Beginner-Friendly Fix:
Build your floor frame on a flat patch of ground. You’ll be using pressure-treated lumber for the frame because it resists rot.
Build the Rectangle: Assemble the outer frame (the rim joists). Get this rectangle as close to perfect as you can.
Click here to get over 12,000 Shed Plans. Download now before the offer ends
The Diagonal Trick That Saves Every Shed Build: This is the most important 5 minutes of your entire project. To make sure your frame is square, grab your tape measure. Measure from one outside corner to the opposite outside corner diagonally. Write that number down. Now measure the other two opposite corners. If those two measurements are the exact same (within 1/4 inch), your frame is square. If they are different, your frame is leaning like a diamond. Push the long corners in or pull the short corners out until the diagonal measurements match. This single step prevents the “funhouse mirror” effect later on.
Need some help? In this article How to Build Your Shed Floor on Skids I’m going to look at “what exactly a skid foundation is” “do you have to have a foundation under your shed” “how to build a shed floor on skids” and “how to attach the shed floor to the skids securely”.
Add the Joists: Add your inner floor joists (the boards that go across the middle) at 16-inch intervals. Make sure they are level with the top of the outer frame.
Sheathe It: Screw down your plywood or OSB subfloor.
Once that subfloor is down, you have a rock-solid, perfectly flat building platform. This is your canvas. Trust it. As we say in the article, your shed walls will only be as good as this floor.
Building Your Walls: “Lay Out, Don’t Screw Up”
Now for the fun part. The secret pro carpenters use is that you build the walls lying flat on the floor you just made. This way, gravity helps you keep everything straight.
Step 1: The “Plate” Sandwich
– Every wall has a top plate (the board at the top) and a bottom plate (the board nailed to the floor). Cut these two boards to the exact same length.
– Now, lay them on the floor edge-to-edge, with about 16 inches of space between them. This is where your vertical studs will go.
Step 2: The “X” Marks the Spot Trick for Perfect Stud Layout
– This is a game-changer for beginners. Grab a tape measure and a pencil.
– Hook the tape on the end of the plates.
– At 16 inches, make a mark. At 32 inches, make a mark. Keep going all the way down the line. This is the center of each stud.
– But a stud is 1.5 inches thick. So, make another mark 3/4 of an inch to the left of your 16-inch mark, and another 3/4 of an inch to the right.
– You should now have two little lines with a 1.5-inch gap between them. Draw an “X” or a bracket in that gap. That “X” marks the spot where the stud goes.
Why do this? If you just put the stud on the 16-inch line, half of it would be on one side. By marking the whole width, you know exactly where to nail and you guarantee the space between studs is perfect for attaching plywood later. It stops you from guessing and ensures your plywood seams land right in the middle of a stud.

Step 3: The Tricky Bits (Doors and Windows)
– If your wall has a door or window, the framing around it needs to be super precise. This is where beginners often get lost, but it’s simple if you know the names of the parts.
King Studs: These are the normal studs that run all the way from the bottom plate to the top plate on either side of the opening. Mark these on your layout.
Jack Studs (or Trimmers): These are shorter studs that go inside the king studs. They only go from the bottom plate up to the bottom of where the door header will sit. They support the weight above the door.
The Header: This is a thick beam (usually two 2×6’s sandwiched with a piece of plywood in between) that sits on top of the Jack Studs. It carries the weight above the door or window.
If your door is centered, always measure from the center of the wall outwards to mark your opening. This keeps it perfectly in the middle.
Need some Help? Check out this article How to Build a Shed Door with Plywood for help with shed doors. Check out this article 4 Tips When Choosing Windows for Your Shed for help with where to put a window and how to frame for the window.
Step 4: Nail It Together
Now, put all your studs (the long vertical ones) standing up on end between the two plates. Line them up with the “X” marks you drew. Nail or screw through the top plate down into the end of the stud, and through the bottom plate up into the stud. Use two fasteners per connection.
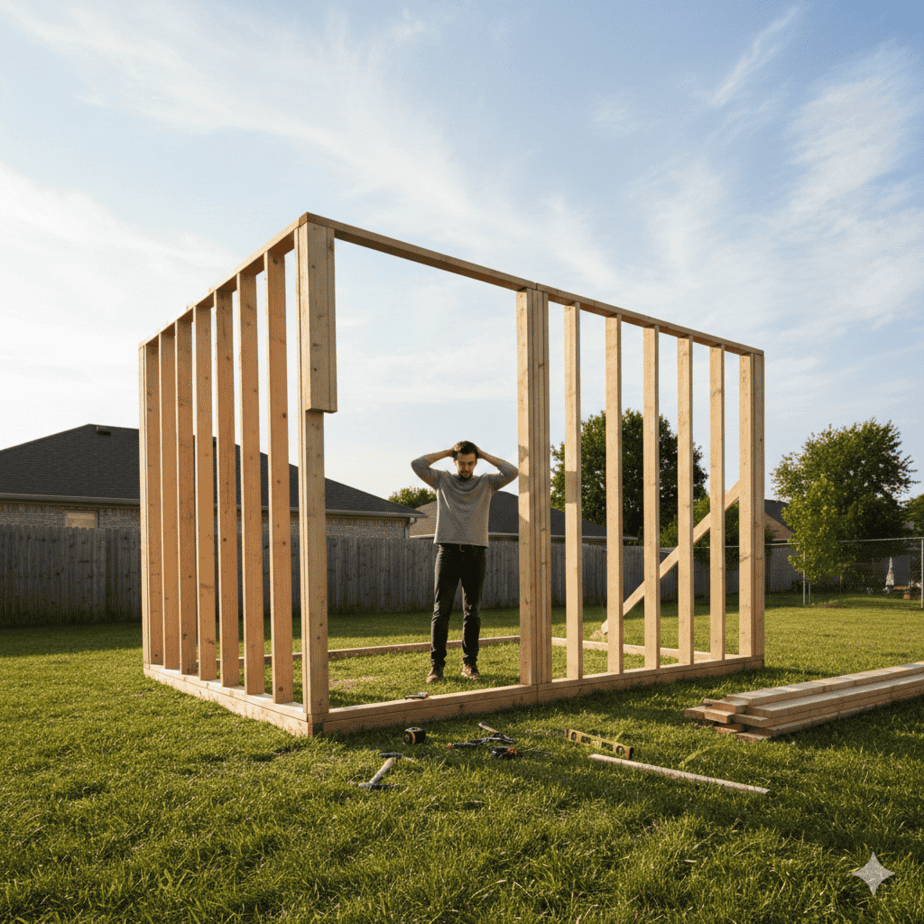
Raising the Walls: The Big Moment
This is where your shed starts to look like a shed. You’ll need a friend for this—don’t be a hero.
Stand it Up: Walk your wall up from the ground. Once it’s vertical, wiggle it so the bottom plate is perfectly flush with the edge of your floor deck. Screw it down.
The First Corner: Now, stand up your second wall. Bring it to the corner. The end stud of this new wall should press up against the inside face of the first wall’s end stud. It should look like a perfect “L” shape.
12,000 “Perfect” Shed Plans So Clear, So Complete, So Easy To Use… The Shed Practically Builds Itself… Check Them Out Here
The Secret Weapon: The Double Top Plate
Remember your top plate? Right now, it’s just a single board. Your walls came with a second top plate that hasn’t been used yet. This is the genius part.
Nail that second top plate on top of your first wall.
– But here’s the trick: let it hang over the end of the wall by a foot or so.
– When you stand up the second wall, that overhang from the first wall will now lie right on top of the second wall’s top plate.
This “overlap” locks the two walls together like giant interlocking fingers. It prevents the walls from pulling apart at the corner. Nail the overlap together securely. This is what gives your structure its initial rigidity.
Is it Straight? (Checking for Plumb)
Get your level. Hold it against the wall. Is the bubble in the middle? If not, you need to brace it. Get a long board and screw it to the inside of the wall at an angle, staking the other end into the ground. Push or pull the wall until the bubble is centered, then nail the brace to the ground. This holds it perfectly straight (or “plumb”) while you work on the next wall.
Stop the Wobble: Sheathing and Bracing
At this point, you have four walls up. If you give the structure a gentle push, it might wiggle. This is called “racking.” It feels scary, but it’s normal at this stage. Don’t panic and think you’ve gone wrong—you just haven’t finished yet.
The Mistake: Panicking and thinking your walls are loose.
The Fix: Diagonal Bracing and Plywood Sheathing
Before you get to the plywood, you can add temporary or permanent diagonal braces. For a permanent, robust solution, you can “let in” diagonal bracing. This involves cutting a shallow notch (about 1 inch deep) across the studs at a 45-degree angle and seating a 1×4 board into that notch. This brace becomes flush with the face of the studs, allowing sheathing to lie flat over it, and it provides immense resistance to racking.

– But the ultimate stabilizer is plywood.
– Plywood is not just for covering the walls to make them look nice. It is the structural glue that turns your wobbly frame into a rigid box.
– Start nailing up your OSB or plywood sheathing.
– Make sure the edges of the sheets land right in the middle of a stud so you have something to nail into.
– As you nail the first few sheets on, you will physically feel the frame stiffen up. By the time you have all four walls covered, the wobble will be completely gone. Your shed is now solid.
Special Situations: Gable Ends and Beyond
If you’re building a shed with a pitched roof, your end walls will be gable ends. These are shaped like a triangle at the top. Framing these can be tricky because the studs are different lengths.
The key is to lay them out just like you did the other walls—flat on the floor. Mark your top plate (which will be angled) and your bottom plate. Measure each stud individually from the plate to the angled top plate. Cut them one by one, and nail them in place. This ensures the angled wall fits perfectly and lines up with the roof rafters later.

The Checklist for Success
If you want your walls to line up, remember these five things:
The Floor is the Boss: If your floor isn’t flat, level, and square, stop everything and fix it. Use the diagonal trick to check it. Nothing else matters until this is right.
Mark Your “X’s”: When laying out studs on your plates, mark the gaps, not just the lines. This prevents confusion and keeps spacing accurate for sheathing.
Know Your Openings: Understand the difference between King Studs, Jack Studs, and Headers. They are the key to a door or window that fits.
Overlap the Corners: Use your second top plate to tie the walls together at the corners. It’s the best way to keep them aligned.
Don’t Fear the Wobble: A naked frame will wiggle. The plywood sheathing (and optional diagonal bracing) is what makes it strong.
Building a shed is a massive project, but it’s also incredibly rewarding. By taking your time, checking your measurements twice, and following these steps, you’ll avoid the dreaded “crooked wall” syndrome. You’ll end up with a shed that is square, strong, and ready to last for years. Happy building