
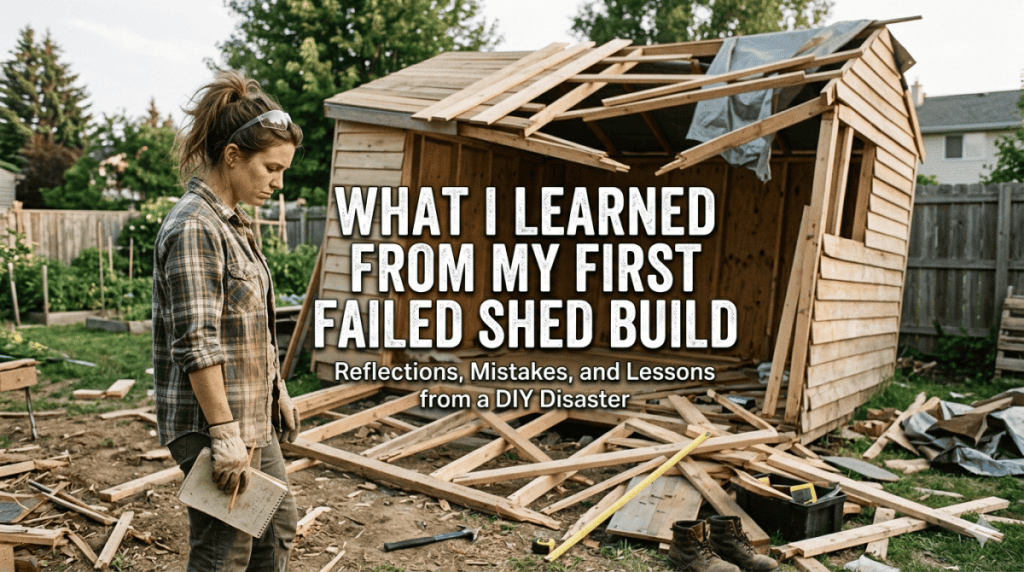
It was supposed to be a simple weekend project. A humble 8×10 garden shed. I had a circular saw, a level, a six-pack of optimism, and absolutely no business building a structure from scratch. Three months later, I had a leaning, water-logged, door-jammed monument to my own hubris. I had to tear the whole thing down.
It was humiliating. But in that pile of twisted lumber and rusted nails, I learned more about building than any perfect shed could have taught me. Here is the brutal, expensive truth.

1. A “Level” Lawn is a Lie
My first mistake was trusting the ground. My yard looked flat, so I laid a gravel base directly on the dirt. By the end of summer, one corner had sunk four inches. The shed looked like it was melting.
The Lesson: The ground is not your foundation. I learned that you don’t build on the ground; you build above it. I needed to dig down, create a compacted gravel base with retaining borders, and use concrete deck blocks or a proper wooden skid foundation. “Good enough” is a recipe for a Leaning Tower of Shed-za.
2. The “Measure Twice, Cut Once” Cliché Exists for a Reason
I was so eager to see walls go up that I mis-read my cut list for the floor joists. Instead of 16 inches on center, I spaced them at 20 inches. The plywood subfloor didn’t reach the edges of the final joist. I “fixed” it by scabbing on a piece of 2×4. That 2×4 became the weak point where the floor eventually buckled.
The Lesson: A math error at 8:00 AM ruins your day at 5:00 PM. I now write all my measurements on the lumber itself with a sharpie before cutting. I also learned to build a single, perfect wall section first, rather than cutting 40 pieces of wood at once.
3. “Pressure Treated” Doesn’t Mean “Waterproof”
I bought pressure-treated wood, so I thought I was safe. I set the walls directly on the floor frame. I didn’t use a sill gasket (that foam tape stuff). Rain splashed up from the ground, wicked into the end grain of the wall studs, and within a year, the bottom plates were black, spongy, and rotten.

The Lesson: Always, always separate wood from concrete/ground contact with a moisture barrier. A $10 roll of sill seal foam would have saved my entire shed. Also, end-grain soaks up water like a straw—paint or seal every cut end.
4. Square is Not Optional. It is the Law.
My floor was square. My walls were square. But when I lifted the walls, I didn’t brace them before nailing the corners. I just held them with one hand and hammered with the other. As a result, the whole structure racked out of square by about 1.5 inches. The roof trusses didn’t line up. The door frame became a rhombus.
The Lesson: You can’t “eyeball” square. You must measure diagonally from corner to corner. If those two numbers aren’t identical, your building is a parallelogram. I learned to install temporary diagonal braces on every wall before raising the next one.
5. Roof Pitch is Not Aesthetic, It’s Physics
I wanted a “modern, low-profile” shed. So I built a nearly flat roof with a 1:12 pitch. It looked cool for two weeks. Then the first snow came. The roof groaned, sagged, and started leaking through the cheap rubber membrane.
The Lesson: Water runs downhill. Slowly. If your pitch is too low, water sits. Sitting water finds a way in. For a small shed, never go below 3:12 pitch (three inches of rise per foot of run). And use actual roofing shingles or standing seam metal, not rolled roofing from a bargain bin.

6. The Hardware Store is Not a Library
I refused to buy a real set of shed plans. I watched a few YouTube videos and sketched something on a napkin. I didn’t know what a “rafter birdsmouth cut” was. I didn’t know about load-bearing headers over the door. I was guessing.
The Lesson: Amateurs guess. Professionals follow engineered plans. For $30, you can buy a PDF of a shed plan that includes every cut, every nail pattern, and every beam size. That $30 would have saved me $800 in wasted lumber.
What I Actually Lost
-
Money: ~$900 in lumber, roofing, and hardware that ended up in a dumpster.
-
Time: Every weekend for three months, plus two weeks of demolition.
-
Pride: The day my neighbor asked if I was “building a chicken coop” for my imaginary chickens.
Why I’m Glad It Failed

That failed shed taught me respect for physics. It taught me that the carpenter’s square and level are not suggestions; they are the only truth. It taught me that preparation (compacting gravel, squaring floors, installing flashing) is 80% of the work, and the actual assembly is just the reward.
I rebuilt the shed last summer. It has a steep metal roof, a square door that closes perfectly, and a floor that doesn’t move. It cost me twice as much as the first one, but it’s worth ten times more.
If you’re about to build your first shed: Buy the plans. Square the floor. Lift your joists off the dirt. Or do what I did, and learn the hard way. The scars are better teachers.